Relishing the fabulous weather

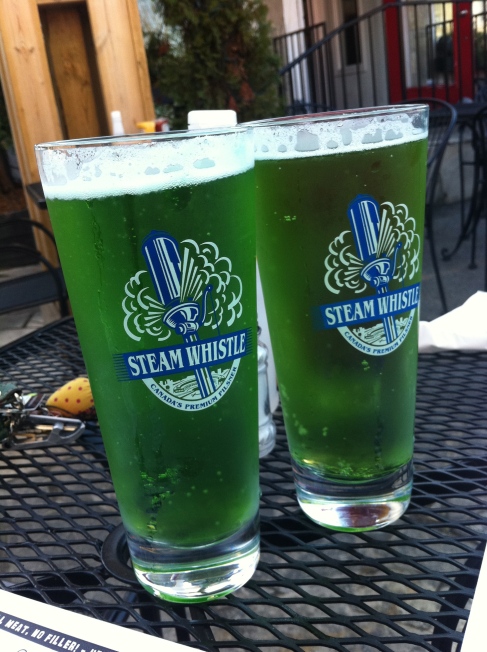
I can’t get over how unseasonably warm and gorgeous the weather has been this past week. 22 degrees in mid March!? Thank you Jesus! To celebrate the beautiful sun (and St. Patrick’s day) I indulged in a few green patio beers and a majorly delicious burger at Relish.

Who knew that little old London was home to one of Food Network’s ‘You Gotta Eat Here’ hotspots? Now, I’ve read mixed reviews about this place online, but some friends of mine can’t get enough, so I took their word for it. They were right. Sure, the food took a while (the menu has a disclaimer saying to allow 30 minutes for your patty to be hand-made), but I can’t complain about spending a few extra minutes basking in the late afternoon sun and sipping on green beer.

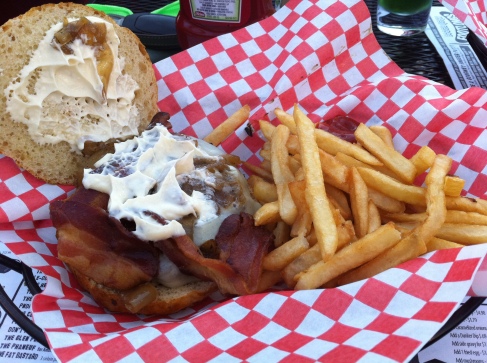
I had “Le Ooh-La-La” sirloin burger which is topped with bacon, béarnaise, mozzarella, and caramelized onions. It was fabulous. I often find that gourmet burger joints will load up their patties with mountains of toppings without using a sturdy, supportive bun to hold them. This is not the case at Relish. I may even go as far as to say that the bun was the best part. It was chewy, and dense and delicious.

Image

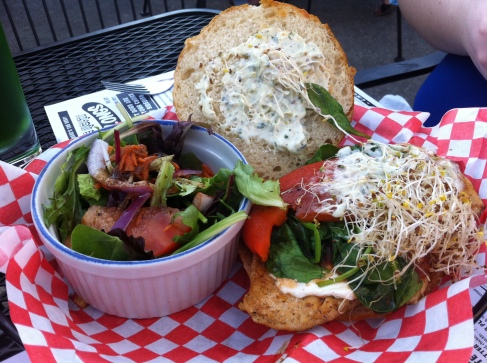
Britt had a “Grazing Hippy” chicken burger with roasted red peppers, pesto mayo, alfalfa sprouts, salsa, goat’s cheese and sautéed spinach. She said it was also a winner.

Image

If you’re ever in Southwestern Ontario, check it out. Just leave yourself enough time to thoroughly browse their massive menu. Cheers!

Image

2 Comments

Filed under Uncategorized

Carrot Cake TO GO: Version 2.0

Before we get to cooking, I need to get something off my chest. I have been watching this season of American Idol. *shame* And I like it. *double shame* And it’s making me like Jennifer Lopez. *weird* Whew. I’m glad we shared that moment. Now I can be my true, embarrassing self.

On to more important things. This past weekend I auditioned for Recipe To Riches with my Carrot Cake TO GO bars. I didn’t make the cut. Cray, I know. Tear. Sob. Whatever. But that means that I can share my perfected recipe with all of YOU!
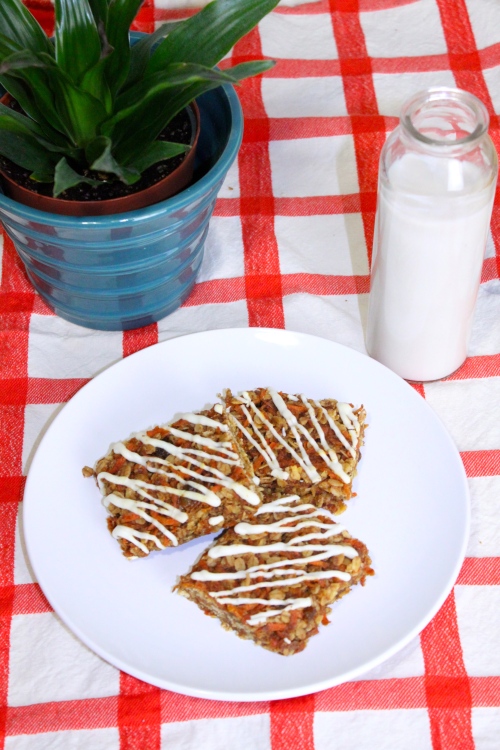
You may remember a similar recipe that I made this past summer. Back then it was a portable trail mix with lots of carrot-y goodness packed inside. But I thought that the folks at PC might be looking for something a little more universal, so after about 15 versions, I ended up with this recipe. It’s basically a fusion between a granola bar and carrot cake. It’s incredibly moist, filling, and satisfies my sweet-tooth craving (which can be ferocious at times). It is also moderately health, so you don’t have to go run 5 k after eating a bar. Although if you do “run” they would be a perfect take along. Do people bring snacks on runs? I’m not all that familiar with “exercise”.

This recipe makes about 24 bars, depending on how large you’d like them. You’ll need:

  • 6 cups large rolled oats
  • 6 tbsp canola oil
  • 3/4 cup honey
  • 9 cups grated carrot
  • 1/2 cup sultana raisins
  • 2 tbsp cinnamon
  • 1 cup brown sugar
  • 1 cup oat flour
  • 1/2 cup flax meal
  • 1 1/2 tsp salt
  • 1/2 cup corn syrup
  • 3/4 cup melted butter
  • 1 tbsp pure vanilla extract
  • 150 grams white chocolate discs

In a small pot over medium heat combine your oil and 6 tbsp honey and heat until gently boiling. Pour over the oats in a bowl, and toss until evenly coated. Spread oats onto a large parchment lined baking sheet and bake at 325 for 20 minutes, tossing every 5 minutes. Your oats should be golden brown.

Spread your carrot across 3 large parchment lined baking sheets, and bake at 300 for 15 minutes, tossing every 5 minutes. This will steam some of the extra moisture out of your carrots so your bars hold together.

Let both of those ingredients cool, while you soak your raisins in a bowl of warm water for 15 minutes.
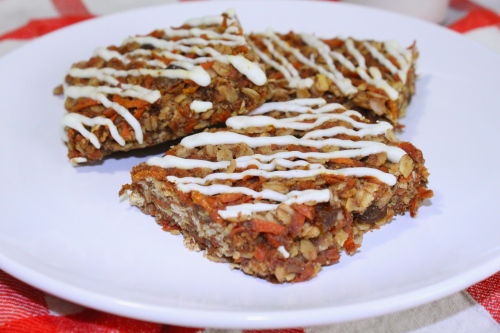
In a LARGE bowl toss together your granola, carrot, raisins (drained), sugar, oat flour, flax, and salt. In a separate bowl, whisk together your remaining honey, corn syrup, melted butter and vanilla. Pour the wet mixture over the dry mixture and toss until everything is throughly coated.

Line a large baking sheet with parchment, and press your bar mixture into it to a height of about 1.75 cm. If your sheet is too large, you can just create an edge with your fingers instead of spreading the mixture all the way to the rim of the tray. If your tray is too small, you can bake the rest of your mixture in a small cake pan. Try to keep the height uniform across the bars.

Bake at 325 for about 35 minutes until the bars are firm with a bit of give to them. Let them cool completely before cutting them up. I like to use a bench cutter for this (It makes me feel manly. Why I want to feel manly, I do not know.), but you can use a kitchen knife if you don’t have one.
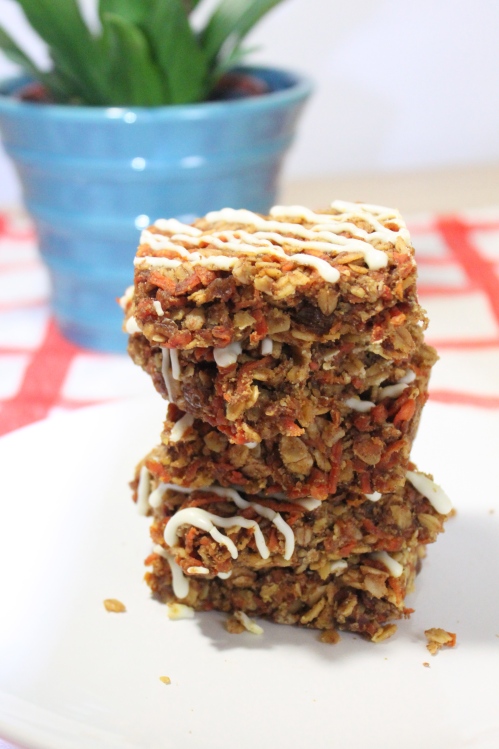
When you’ve cut your bars, put your chocolate in a zipper seal bag (If you are afraid of plastic leaching into your food, you can melt the chocolate in a double boiler. I’m a rebel) and melt it in the microwave at 30 second intervals. Squeedge the chocolate around before adding more time. Be careful not to overheat the chocolate, because there is no going back.

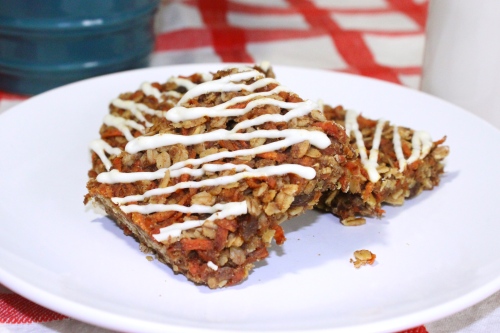
Snip a small bit from the corner of your baggie and drizzle chocolate back and forth on a diagonal across the bars. You don’t need much, the bars are pretty sweet on their own. You can even skip this step if you want.

Now since I have made so many versions of this recipe, I have a few tips for you. If you want to cut back on the processed sugar, you can sub your corn syrup for pureed dates. This will make the bars a little firmer (and in my opinion less delicious), but it is lower cal. You can also add more flax, and less oat flour if you like, but again, the bars will taste slightly different. Have fun experimenting, and happy baking!
12 Comments

Filed under cake, pop culture, relatively healthy, squares

Rural Routes: Old 99 Farm

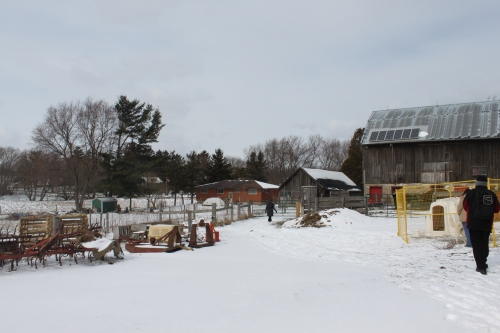
I have always loved the idea of growing my own food. There is just something so nostalgic about that kind of self-sufficiency. Sigh. But while I adore the philosophy of it all, I am a little lost when it comes to the logistics. So I set off last Saturday on an adventure to Old 99 Farm in Dundas, Ontario.

Now, not to worry, I didn’t just show up on farmer Ian’s doorstep demanding to be educated. I went as part of Environment Hamilton’s Rural Routes project. They have paired up with the Hamilton Street Railway to show off some of the area’s most interesting farms.

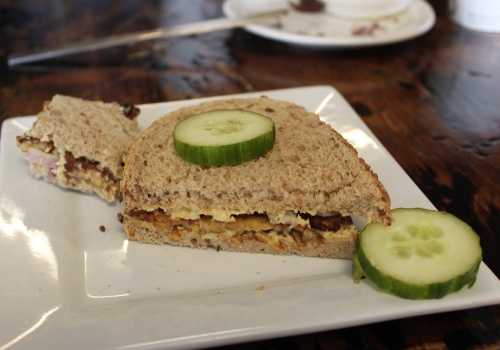
We started out at Homegrown Hamilton, an awesome little cafe downtown that serves a mean hummus and tempeh sandwich. From there, an HSR bus picked us up and drove us out to the boonies.

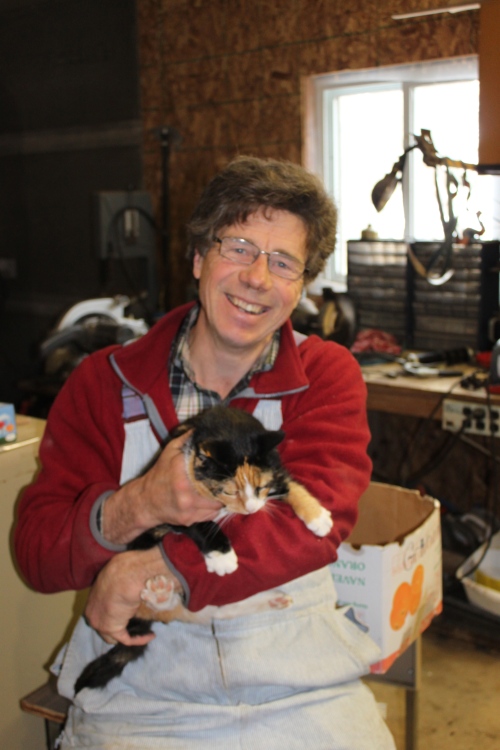
Old 99 Farm operates using the permaculture theory that tries to mimic natural ecosystems in order to increase sustainability. It’s hard to convey just how much detail goes into planning a farm like this, so if you have an opportunity to visit one, I’d totally recommend it. Ian Graham started the farm in 2007 after leaving a long and successful career in business. He is a fountain of knowledge, and was more than happy to share. It’s hard to believe that he used to be, in his words, “a suit”.

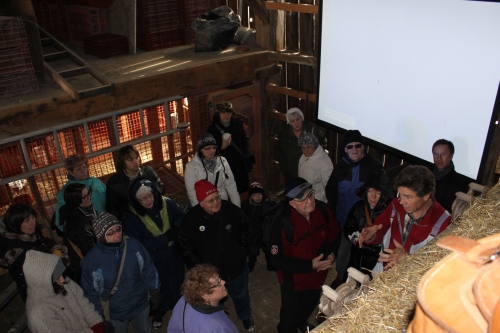
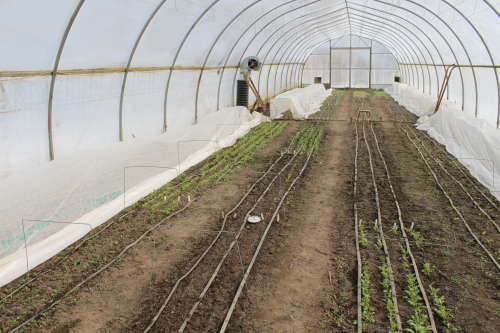
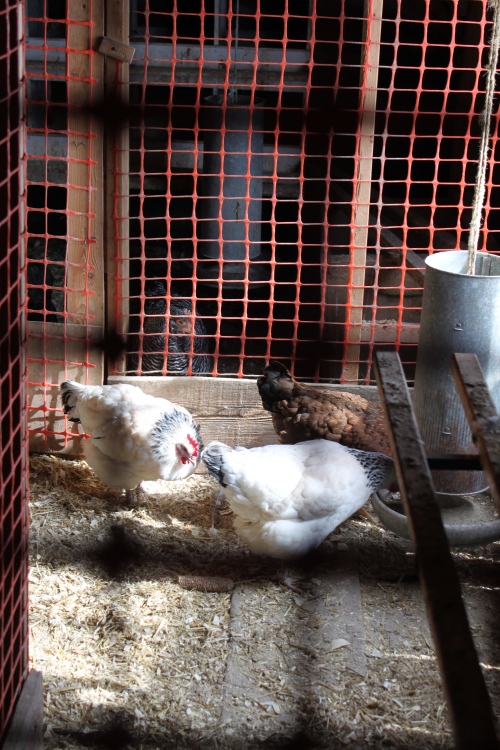
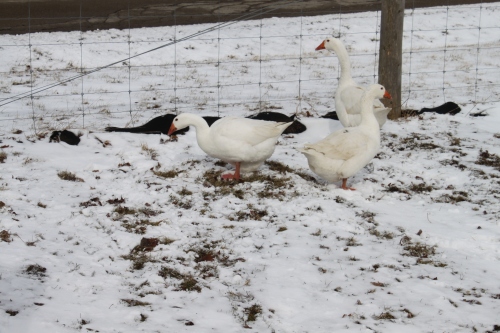
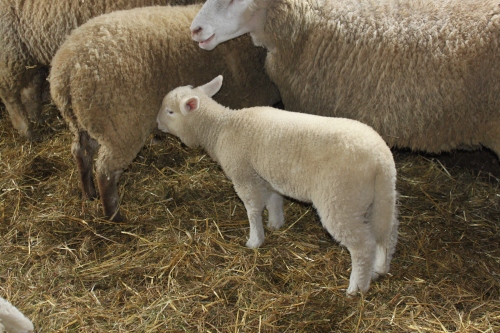
The visit started out with a lecture on permaculture in the barn (we had a prime view up in the hayloft), and then we took a tour of the greenhouses and animals. Old 99 grows a huge variety of vegetables, and is in the process of cultivating an orchard. Ian also raises cows, sheep, chickens, geese, turkeys etc. etc. etc. In order to be successful at permaculture, Ian says your farm should be as diverse as possible. It sounds like soooooo much work! (But the fun kind of work, I guess). Check out Ian’s milking skills below….so jealous.

I don’t think I’m at a stage where I’ll be growing my own food, but backyard chickens seem pretty tempting (and easy) to raise. How idyllic would it be to wander outside every morning and collect your very own farm fresh eggs? Ahhhhh….I would look so cute! Now I just need to buy an adorable straw hat and overalls…

If you’re from the Hamilton area, Rural Routes will be back with more events for summer 2012. Hopefully by then I will have my own little flock of feathered friends. I’ll keep you updated 😉

5 Comments

Filed under Uncategorized

Larger than Life: Chocolate and Hotdogs

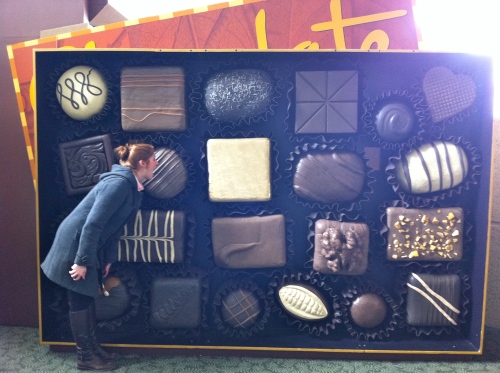
For family day weekend, my fam and I took a little outing to Chocolate: The Exhibition at the Royal Botanical Gardens in Burlington. The exhibit takes you through the history of cacao harvest and chocolate making starting in the Mayan era. In all honesty, I don’t really think I got a whole lot out of it, but I would totally recommend it for families with kids. They had a few chocolate making demonstrations, and best of all, some epic-ly giant chocolate props for photo-ops. Nom nom nom.

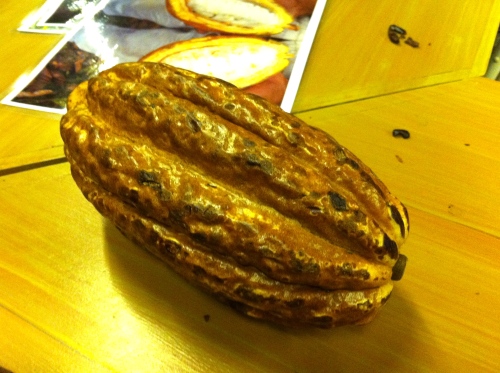
Also, who knew that chocolate starts out with these massive, wonky looking pods? They extract the beans from inside these pods, dry them out, grind them up, and add sugar and milk fats to make choco. Sounds glamourous eh?

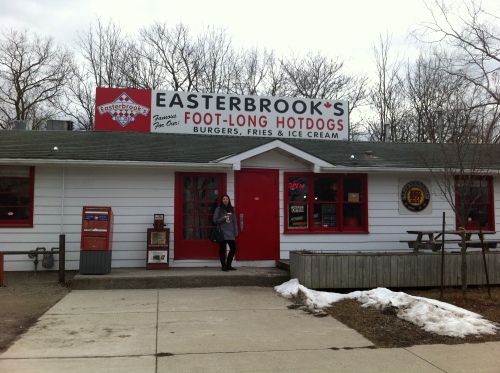
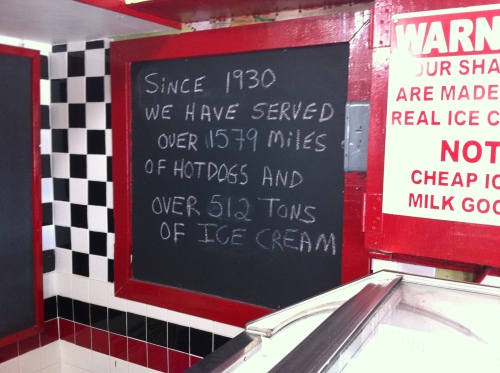
After taking a few too many photos with giant chocolate bars, we went across the street for a bite at Easterbrooks. If you’re from the Hammer, and have never been here, you are missing out. This place is an institution. They’ve been around since the stone age (1930s), and serve awesome footlong dogs, ice cream, and other standard greasy fare.

It’s certainly not gourmet, but definitely tasty. And an awesome throw back if you’re into that sort of thing.

If you’re looking to kill time with the kittens over March break, or just have a spare afternoon, these are both fun destinations. Chocolate: The Exhibition runs until April 15th, and good ole Easterbrooks is open year round. Now, if you’ll excuse me, I have to go continue my hunt for gigantic imitation food items….

4 Comments

Filed under Uncategorized

Strawberry Cone Cakes

Last weekend I was invited to a Pink and Purple Potluck for my friend Elise’s 21st birthday (yes we have  the same name, and yes, it’s very confusing). Now, pink and purple foods weren’t mandatory, but you know how much I love themes. And when I think pink, I think adorable…and when I think adorable, I think foods that look like other foods. Hence the cone cakes. Now what is a cone cake, you ask? Why a cupcake inside an ice cream cone, of course!  I decided to make them extra authentic by incorporating real strawberries into the icing. It was crazy how much they looked like strawberry frozen yogurt. If you want to give them a try, you’ll need:

  • 18 flat-bottomed ice cream cones
  • 1 package vanilla cake mix
  • pink gel food colouring
  • 1 1/2 cups softened butter
  • 4 cups icing sugar
  • 1 cup freeze-dried strawberries
  • sprinkles
Start off by preparing your cake mix according to the package directions, and preheat the oven. If you’re cute, you’ll add a little pink food colouring so the inside of the cone matches the outside (the more realistic the better).
Stand your cupcakes on a baking sheet, and fill them up half-way. This part is crucial. You may be tempted to add more batter, but DON’T! If your cones overflow, you will have to pick bits of cake off the outside, and that is just icky. Trust me, I know from experience.
Bake them according to the package, and get started on your icing. Pulverize your freeze-dried strawberries in a food processor. It is very important that they be freeze-dried, and not just regular dried. You can find these at most bulk stores.
In a large bowl, cream your butter until it’s soft and smooth. Using a wooden spoon, add the icing sugar one cup at a time, and finally add your strawberry powder. The strawberries should make the icing nice and pink, but if you want you can add some more food colouring.
When your cone cakes have cooled, fill a piping bag with icing and a star shaped tip. Pipe liberal amounts of icing onto your cone cakes, and sprinkle with a few decorations.
These babies can be tricky to transport. I suggest covering a rectangular cake pan with foil, and nestling the cones into holes in the foil.
Give these a try for your next Pink and Purple Potluck. Or I guess you could make them for a regular party too. Happy baking!

6 Comments

Filed under a party, adorability, cake, cupcakes